Tag Archives: The Chest Case Mod

The Chest Case Mod Project – Part III

The Chest Case mod project has been moving forward! If all goes as planned (which it rarely does), the final assembly will be tomorrow!

First off, I made two errors while making the design:

  1. I forgot to take the cables into account
  2. I forgot to take the cables into account
To start, the HDD/SSD cage will have to be moved from behind the PSU. Since the PSU is modular, meaning you can attach and remove the power cables, the removable cables are taking slightly more vertical space due to the connectors to the PSU. This means I’m about 1 cm short of fitting the drive cage in the planned space. I will therefore relocate it higher up, elevated partly inside the chest lid. It will still not be visible when the lid is closed, but will be the first thing you see if you open it.
Secondly, I did not study the physical component design of the motherboard before starting this project. All the motherboards I have ever used in the past when building computers have had their HDD (ATA/SATA) sockets flat on the top of the motherboard. This one has it on the side, on the opposite side of the rear panel where the USB, audio etc. ports are. That means that the SATA cables won’t fit unless I open a hole in the front of the chest for this very purpose. All angled SATA connectors are angled the wrong way, pointing down to the bottom of the chest. Or so I thought, after trying the three different kinds I had at home. After some scouting I did however find SATA cables with inverted angles, meaning the actual cable would point straight up. The space for the connector was still too tight though, only leaving a few millimeters to the edge, where it would be impossible to fit any connectors at all.  However, carefully grinding down part of the front board of the chest from the inside proved to give just enough space to fit the cables. I did have to be very careful when grinding though, as the front board is only about 4 mm thick. When done, the board was only about 1 mm thick in the area where the SATA ports are.
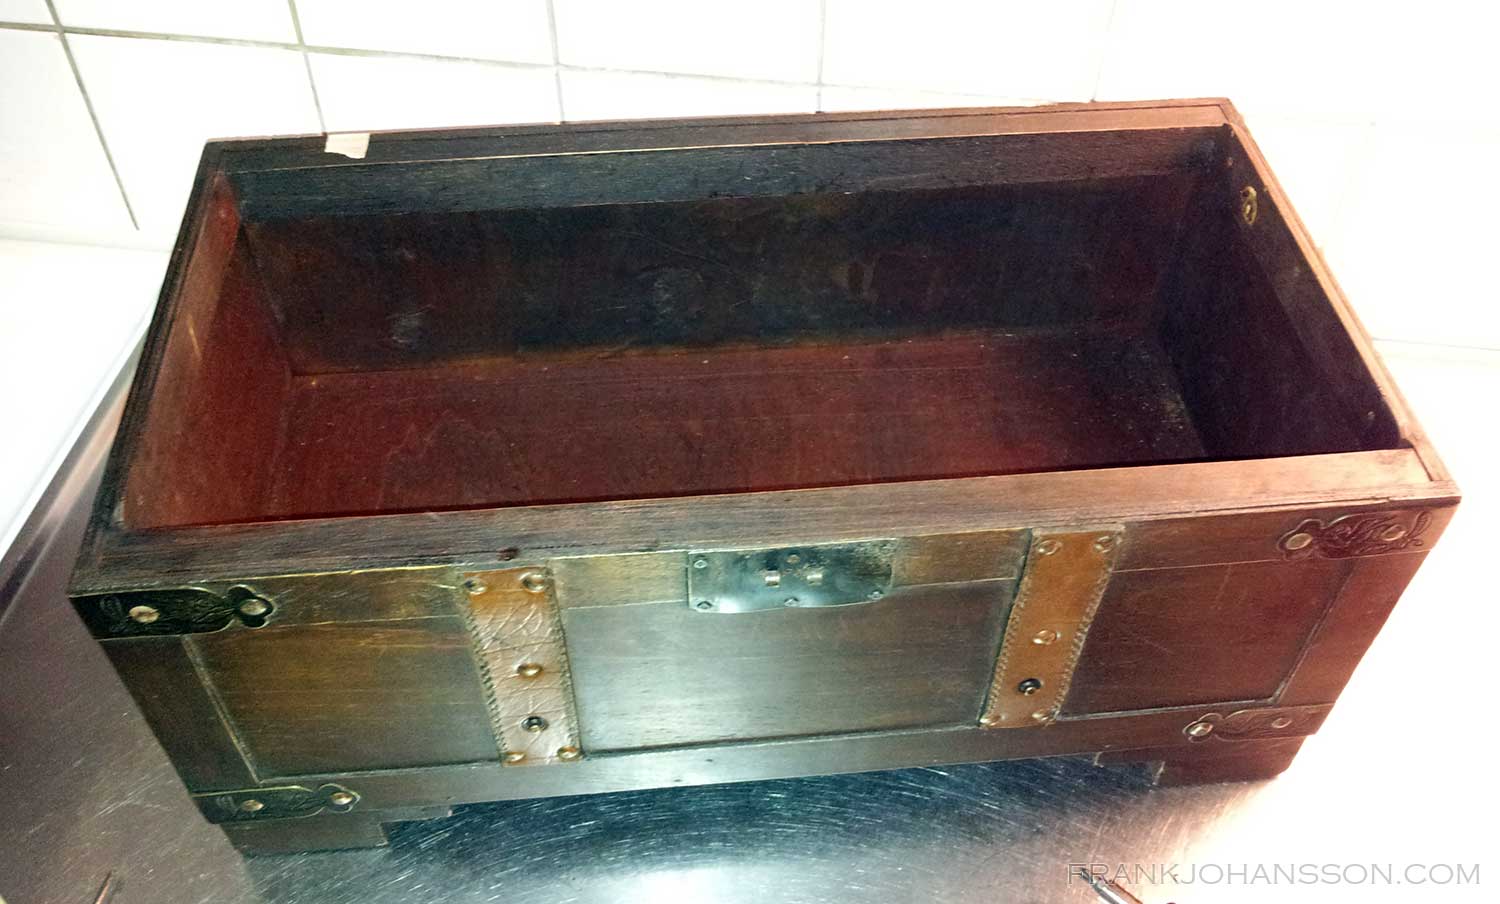
Other than that, I have drilled, filed, grinded, polished and cut the case to have all the openings it needs to have, from air vents for the fans to a large opening for the PSU and motherboard rear panel.
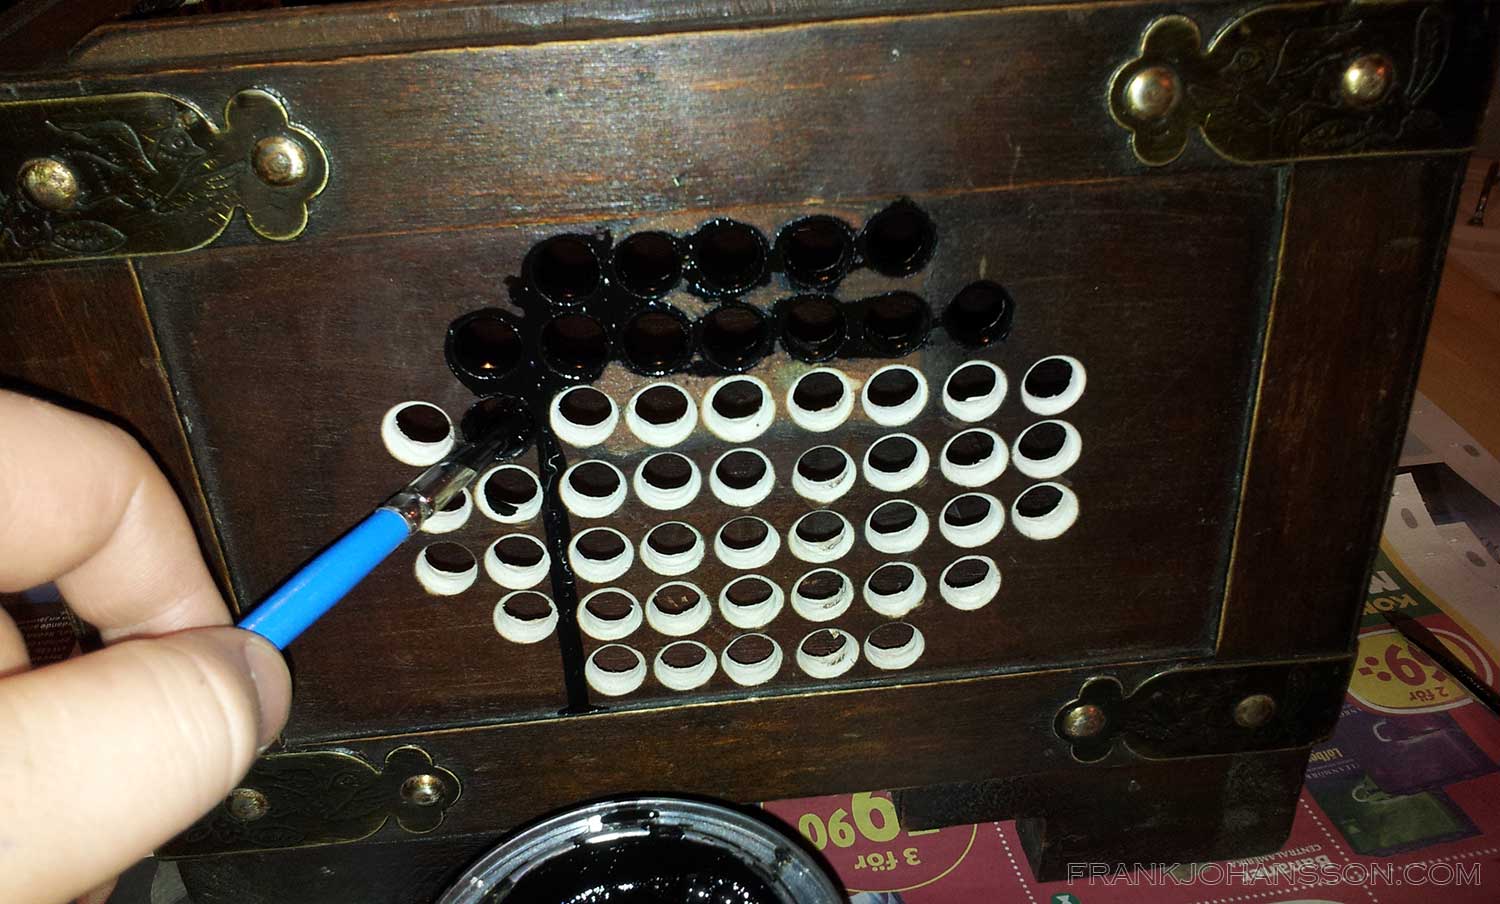
Today I did some last revisions to fit the video card that was slightly to high when fitting it, and finished off with staining all the cuts and holes (“Dark Oak” dye), and also applying it to the surrounding chest panels for it to blend in better.
Tomorrow I will pick up the inverted SATA cables and a proper version of Windows 7, and I’m hoping to have the entire computer up and running tomorrow or the day after that.

Edit: All done!

The Chest Case Mod Project – Part I

Last week I ordered a bunch of components for building a new computer. The main reason is that I want to be able to use triple screens with Eyefinity, and my current setup can’t handle that. I’ve been using dual monitors for about 7 years and never looked back, but I would like some more screen estate, especially when working in Photoshop and the likes, and playing 3D games. Games like Dragon Age (I/II) etc works fine with dual screens, but I find it annoying that all texts etc are split in the middle between two screens. For better vertical resolution, I will use my three 21″ Dell screens with IPS panels with extreme viewing angles and a lot better color depth than “normal” computer screens. And they can pivot, meaning I can place them vertically. The full resolution will be 3150×1680 with an aspect ratio of 15:8, slightly wider than standard 16:9 widescreen. And since my current computer is 5 years old, I thought it was about time to buy a new rig anyway.

The thing I enjoy most about getting a new computer is to build the case. To be able to fit the 3-slot wide, passively cooled graphics card alongside the CPU cooler, I could not go with a 17x17cm Mini-ITX motheboard this time as I have for my last two builds, but had to step up a level to a 24x24cm Micro-ATX instead. The size for the components are perfect for a case that I will build out of a small wooden chest. I will try to make the  chest to look as close to the  original as possible, not revealing that it actually contains a computer until you get a closer look at the sides and the rear.

Since everything but the CPU is passively cooled, even the PSU, the case will require some airflow as to not overheat. I will go for a silent 12cm fan on each side with adjustable speed that you can turn up if needed while playing heavy games or during a hot summer (Or I can just open the chest lid). The big problem will be to have air vents in the chest without it looking too strange. Right now I’m in the decision process on whether I will cut a 12x12cm hole on each side and place a fan grill above them, or if I will simply cut a lot of smaller holes in the chest around where the fan will be placed on the inside.

Two days ago I downloaded Google SketchUp, a free 3D modeling program, to do a design draft and make sure all components will fit. It was quite easy to learn, and after about a total of 8 hours learning and designing, I’ve come up with this. All done from scratch:

The Chest Case Mod - First 3D draft

The lid in the model is semi transparent in order to actually see the parts inside the chest. Everything is made with millimeter precision, and I’ve used my slide caliper plenty to measure everything correctly. To be less then modest, I’m quite impressed with the progress I’ve made in this short time. I do have previous 3D modeling experience, but that was back in 1995-96 in Autodesk 3D Studio for DOS. I can tell you this: SketchUp is a lot easier to learn.

The computer components are all top notch, and it’s hard to get better components than these without a major step up in price:

  • CPU: Intel Core i7-2600K (stock cooler to start with, might upgrade later)
  • Motherboard: ASUS Maximus IV GENE-Z
  • Graphics card: PowerColor Radeon HD 6850 1GB GDDR5 SCS3
  • PSU: Seasonic X-460FL
  • SSD: Corsair SSD Force Series™ F115 (115GB, system disk)
  • HDD (x2): WD Caviar Green WD20EARX (2TB, storage disk, will use RAID 1)
  • RAM: A-Data DDR3-1600G (8GB)
  • Case fan (x2):  Scythe Slip Stream PWM 120mm Adjustable
I expect most parts to arrive tomorrow, and hope to get started with the build soon.